
The Most Important Tool in AV Might Just Be the Drywall Saw
Cable Management
A little-known fact is that Audioholics.com publisher and site impresario Gene Della Sala’s secret favorite movie is from the Saw franchise, but I digress, as that’s not the type of saw that we are talking about today. The saw that I am most fond of isn’t circular or chain by name – it is a drywall saw. Why, you ask? Because too many of today’s AV installations are a messy, tangled knot of often expensive and inflexible audio and video cables, but by no means does this have to be the case, and the drywall saw is the short-term solution to our problems.
Low-voltage cables (not anything electrical, mind you) can go in the wall without a permit and on a DIY basis. This would include digital cables, unbalanced and balanced interconnects, control wires, speaker cables, and more. In certain parts of the world, like Europe and parts of Asia, the use of plaster in construction versus drywall makes running cables in one’s walls nearly impossible, or at least cost-prohibitive. In North America, cutting a series of holes allows even the less-than-super-handy AV hobbyist to run his or her cables neatly inside one’s walls. Any number of parts and/or receptacles that you can get from Amazon, Home Depot, Lowes, or, best yet, the local electrical supply store, can make it so that you can have just the cables that you need waiting for your key installations in ways that clean up the butt-ugly cable mess seen in less professional installations.
Is It Expensive or Difficult to Run AV Cables in the Wall?
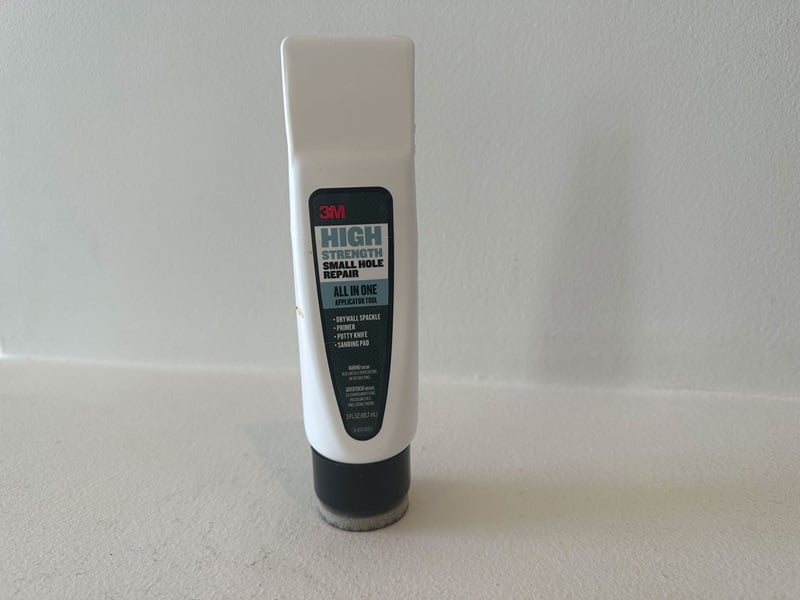
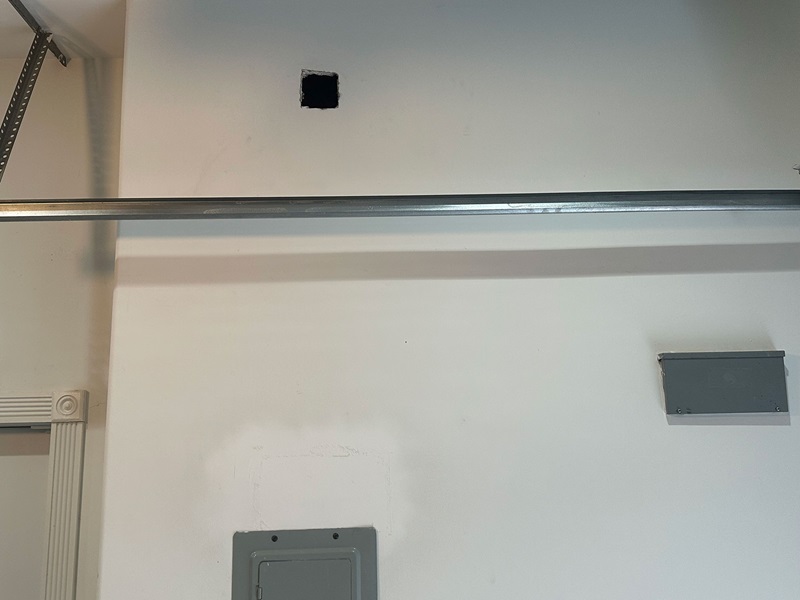
Nope. This is a low-cost, DIY project, or the perfect task for your local handyman if you don’t want to take on the challenge of hiding cables behind your drywall by yourself. A good drywall saw is about $10 and, with a small starter hole, you can start making, say, two-inch by two-inch holes every few feet in your walls. Do not toss out the little two-inch squared chunks of drywall, because you are going to need them again later. The $16 product that is a total game-changer is from 3M, the company behind the sticky note, which is an all-in-one tube of fast-drying drywall mud. I am a simple man and not all that handy, but this product is so well thought-out that it makes repairing your drywall a piece of cake for any of us. Simply squeeze enough of the putty-like “mud” into your hole with your leftover patch in place. Be sure to leave a little extra material to dry outside of your repair, as you will sand it off. Once you’ve got the mud in place, you use the other side of the 3M tube to remove excess drywall mud. There is a bit of sandpaper at the end cap/end of the tube that can smooth over the patch when it has 15 to 30 minutes to dry. I do recommend picking up some various-size painter’s tarps, as well as some additional 180- to 220-grit sandpaper, which is better than just using the cap from the 3M tube unless you have a very small area to replace. This is a worthy additional investment of $10 and will make your repaired hole perfectly ready to paint in mere minutes.
Picking paint is often a matter of matching the sometimes faded-over-time current paint, which is easier today than ever, as any hardware store that sells paint can take a small chip from your drywall cutout or even a little chip of paint that you peel from your wall and use a computer to create the perfect color match in mere minutes. Any reasonable hardware store can do this for you and, for another $20 to $40 (depending on how much paint you need), you are ready to finish your job.
What Should I Know About AV Cables Before I Run Them in the Wall?
Even affordable AV cables today are effectively shielded from outside interference and issues. You never want to run nasty, old cables in your walls because they potentially could have performance or, God forbid, hum issues that might haunt you. That’s the last thing you need or want in your AV system, especially after going to the next level to make your AV system look neat, clean, and professionally installed.
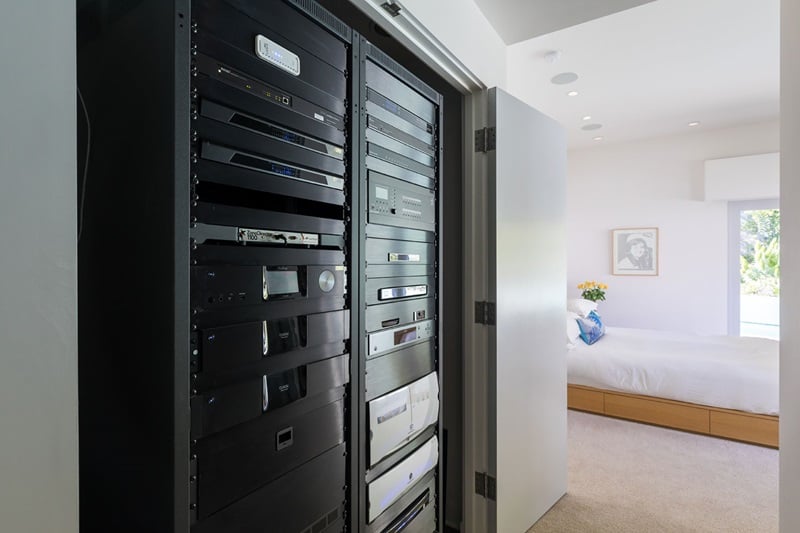
The quality that I look for in an AV cable that is going into the wall is flexibility. Far too often, I have found cables that are so stiff because of shielding for audiophile purposes that they aren’t able to run in your walls or to easily extract from the wall via your new wall plates or screwless hardware (always get screwless hardware, folks, as it is so affordable and a much cleaner look for your entire AV room). I’ve had success with cables run in the wall from Kimber Kable and Bluejeanscable, as well as Monoprice. I’ve run XLR cables up and over from my double eight-foot-tall Middle Atlantic racks (I have two of them side by side in a converted coat closet that is now a mechanical room for AV) to an area behind my left Bowers & Wilkins 802 D4 speaker. This allows me to put a review amplifier into my system without needing to install it into an open shelf in my equipment rack. This $100 audiophile update is worth tenfold the cost when it comes to logistics in my system.
Why is it So Important to Hide AV Cables?
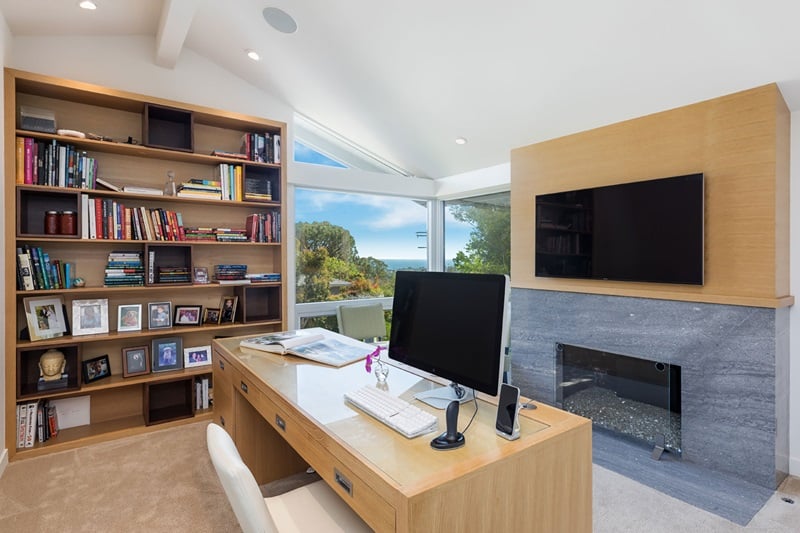
Technology is cool, and that’s a big reason why we love this hobby. We enthusiastically invest thousands or tens of thousands (if not more) of dollars into our setups, and they should look the part. If you’ve got a Samsung The Frame TV on the wall, you’ve got something that is as much an objet d’art as a 4K UHD television. I’ve seen this in many an Air BnB or VRBO rental; to have a haphazard cable or two running from your flat HDTV to your soundbar is not just ugly, it is unsafe. The solution is beyond easy and pretty darn affordable.
No one small detail can transform the look and feel of a room, but the aggregate of a number of these small details can make your media room worthy of media attention. Neatening up your equipment rack, updating your lighting design, replacing your AC power plates with the screwless variety, and other tweaks all add up to an audio-video end result that has the type of WOW factor that you paid for when you bought into this hobby and started your journey with your AV system. Here's a question to ask: would you invite another couple over to sit in your media room to enjoy some background music and perhaps have an after-dinner drink? If not, perhaps your listening room might need some modifications or upgrades to make it as much of a living space as a launch pad for your AV media experiences.
Get Professional Help for Anything AC-related
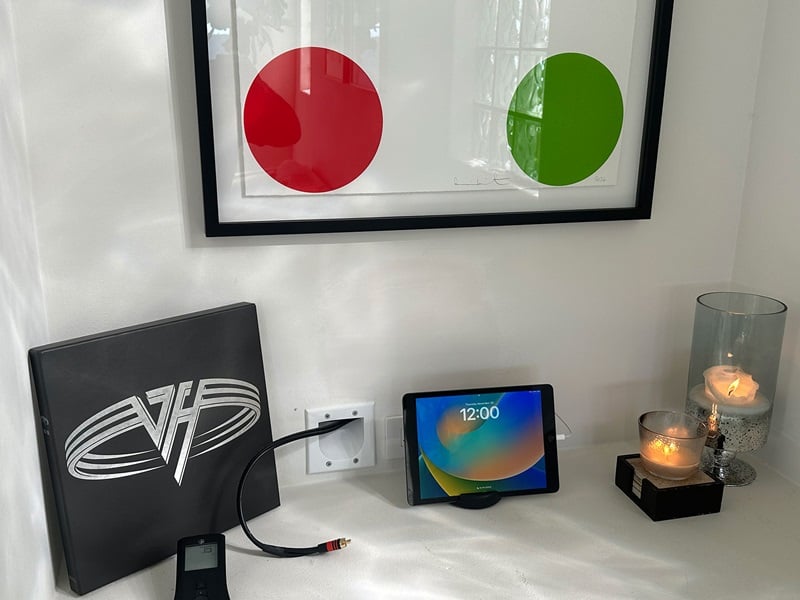
Please do not ever take on the challenge of running anything AC in your walls. That type of work is for licensed contractors and is simply too dangerous for the AV enthusiast. Having an electrician work on your AV system is always a good idea, too. For example, they can run more dedicated 20-amp circuits to your equipment rack, so that your electronics (especially your power amps) can get enough clean power. Having an electrician double-check your solder points in your outlets can find sources of hum and noise in your system that is yet more of the Nth degree of performance that can be had for 15 minutes worth of labor. While the electrician is over, how about having him or her look into your lighting design? Today’s best LED lights dim more effectively and have the ability to be controlled via WI-FI and/or Bluetooth via an iPad (really by an app, but you get the idea), and can radically reduce your energy use, remove the need to change a bulb for 25 years, and cut down on lighting hum (a bigger deal in an audiophile system than you might think), as well as make your media room a whole other level of refined. This upgrade might not cost much more than $500 to $750 (okay, I will go $1,000 if you get some new lights), and you are getting all sorts of benefits.
More Affordable Alternatives That Are Less Invasive Than Cutting Holes in Your Wall
While I’ve seemingly mastered the art of drywall repair and I have a sense of accomplishment powering my enthusiasm for the hobby right now, I do have an even less expensive but super-smart solution for cable management. Places like Best Buy and Amazon offer under-$10 kits of colored Velcro wire ties. The plastic wire tie solutions that many custom installers use are too permanent for my tastes and, when you clip them with a wire cutter, it is easy to damage the cable or leave a plastic mess everywhere. These reusable Velcro cable ties are much better and an ultra-affordable solution that can allow you to neaten up your cables so that your system looks much more finished. 20 to 30 minutes of labor and well under $10 worth of parts deliver on this also-meaningful upgrade to the look of your AV system.
In the end, your media room should have the finished look and feel of the rest of your home. It is likely that, even in comparison to a modern finished kitchen, complete with all of the best, most-sexy appliances, your media room is the most expensive room in your home on an invested, per-square-foot basis. We hope that some of these tips and lessons will help you take a few hundred dollars and apply some simple, not-too-laborious tasks to take your beloved system to the next level of excellence because if you ask me – that’s what this hobby is really about.
Jerry is the Creator and former Publisher of AVRev.com, HomeTheaterReview.com and AudiophileReview.com. Currently, he publishes FutureAudiophile.com, an enthusiast site trying to bring the audio hobby to a new, younger audience.
View full profile