
Connecting Up a Sound Bar to Enhance Your Flat Panel TV's Audio
Setting Up a Sound Bar
As video displays become thinner, and more people move towards high-performance home theaters, manufacturers are often de-prioritizing the built in sound in their televisions. In other words, if you want anything other than small, quiet, tinny sound, you’ll need an external solution.
For folks that don’t want a complex system that takes up a lot of real estate, a soundbar is a good option. “Soundbar” is the generic name for a system with multiple driver arrays in a single enclosure. They are much wider than they are tall to provide a sense of stereo separation and to match the aesthetic of today’s widescreen TVs. They are often designed to be mounted on a tabletop or a wall, and many come with external, often wireless, subwoofers for full-range response. Typically, they are self-powered, meaning no external amplifier and a simpler setup. All seek to give you better sound in an inconspicuous package, and some take on the lofty goal of replicating the kind of surround sound that you would get from multiple, larger speakers spread around your room.
How to Set Up a Sound Bar Video Tutorial
Today, we’re going to go through several basic setups that will help you get up and running with most any brand of soundbar.
First, unpack your soundbar, make sure you have all the included components, and read the manual. I know that last part is tricky for most folks, myself included.
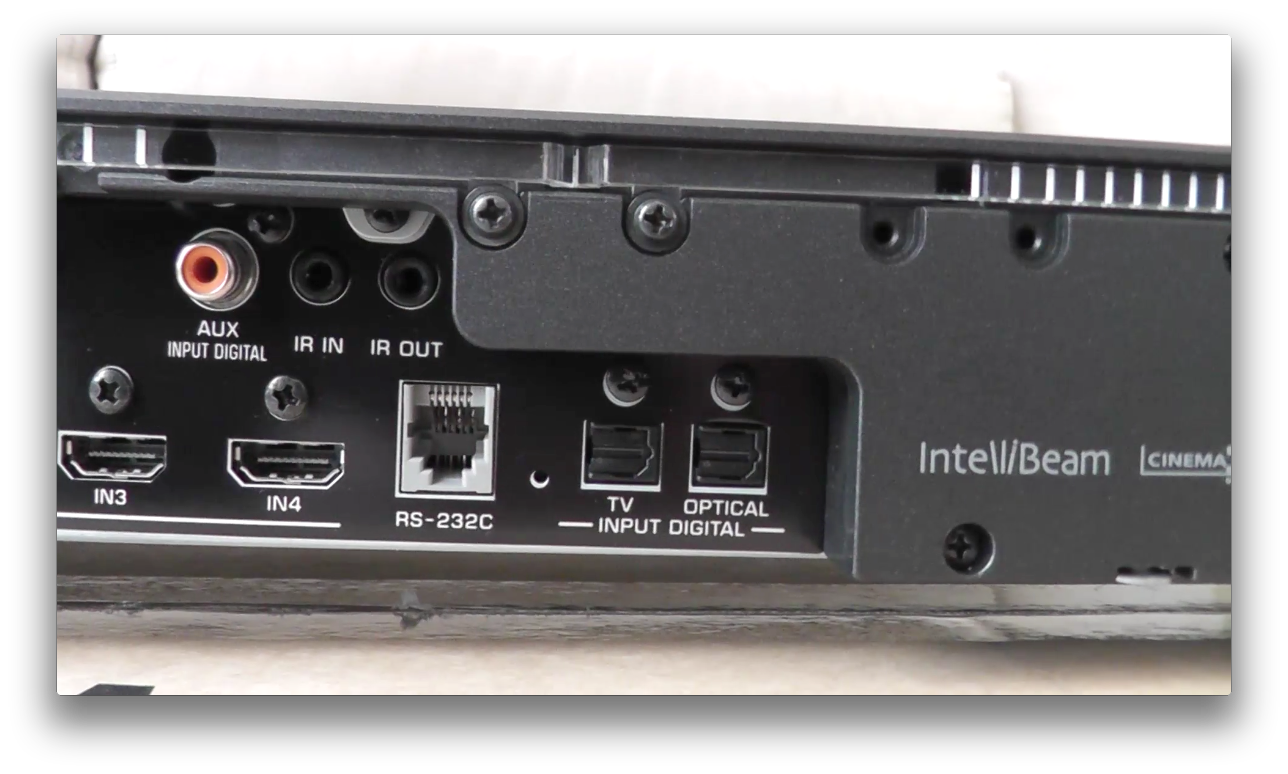
Soundbars typically control only the audio, though we will be looking at a high-end model today that does video switching as well. You will get the best performance by using an HDMI cable if your soundbar accepts one. Many will offer a digital connection labeled optical or co-ax; this is your next best solution after HDMI. The Red and White “RCA Analog” connections should only be used if you have no other option.
Let’s assume you have two typical sources, a Blu-ray player and a high-def cable/satellite box. For a more basic setup, like the Klipsch HDT-SB3, the most simple setup is to connect your Blu-ray and cable/sat box to your TV via its HDMI inputs. Then, run a single optical or digital co-ax cable from your TV to your soundbar. HDMI carries both Video and Audio, so your TV will take the video signal and display it, then send the audio signal through the digital cable to your soundbar. When you switch inputs on your TV, it will switch video and audio, making sure the picture being displayed and the sound sent to the soundbar always match.
Alternately, you could connect audio from your devices directly to the soundbar, and then run separate video connections to your TV. In some products that decode surround formats, you may get marginally better sound as most TV downsample surround to stereo before passing it through. However, this setup has the disadvantage that, to switch from your Blu-ray to your Cable/Sat box, you need to switch both the audio input on the soundbar and the video input on the TV. Most folks will want to use the first connection method.
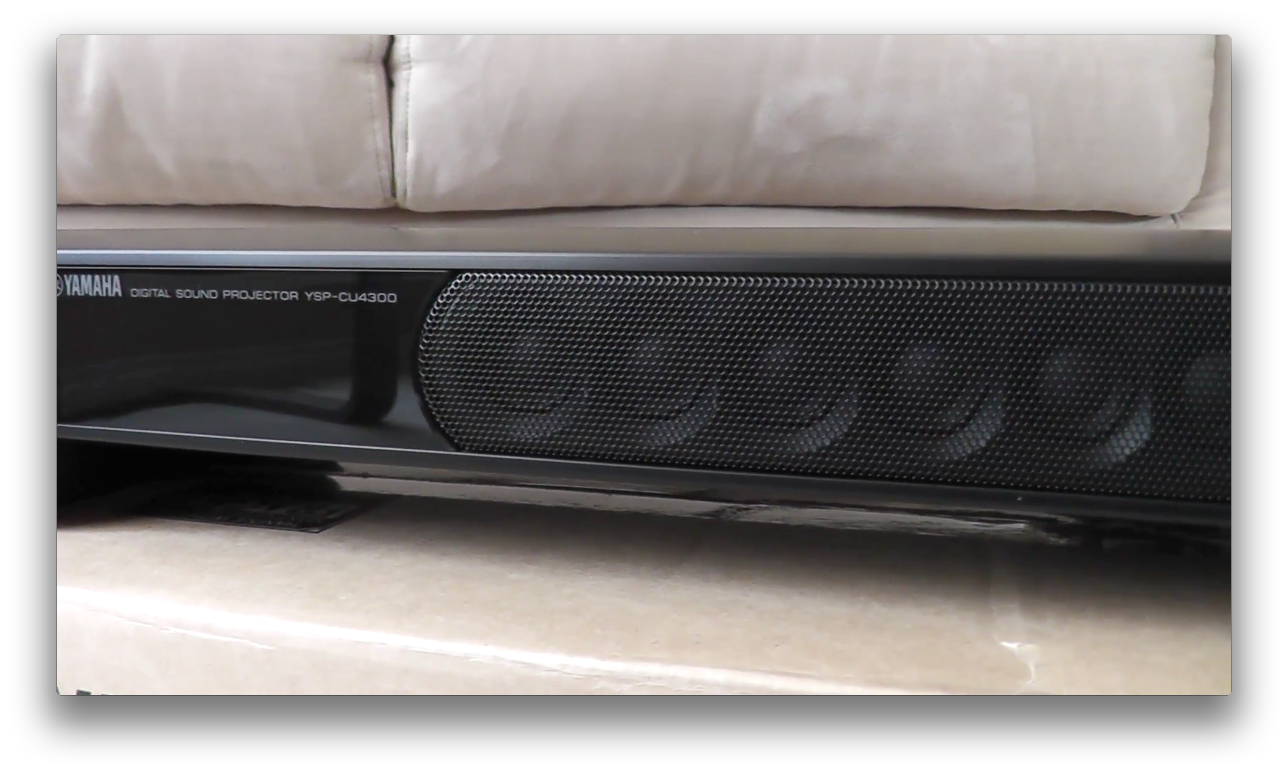
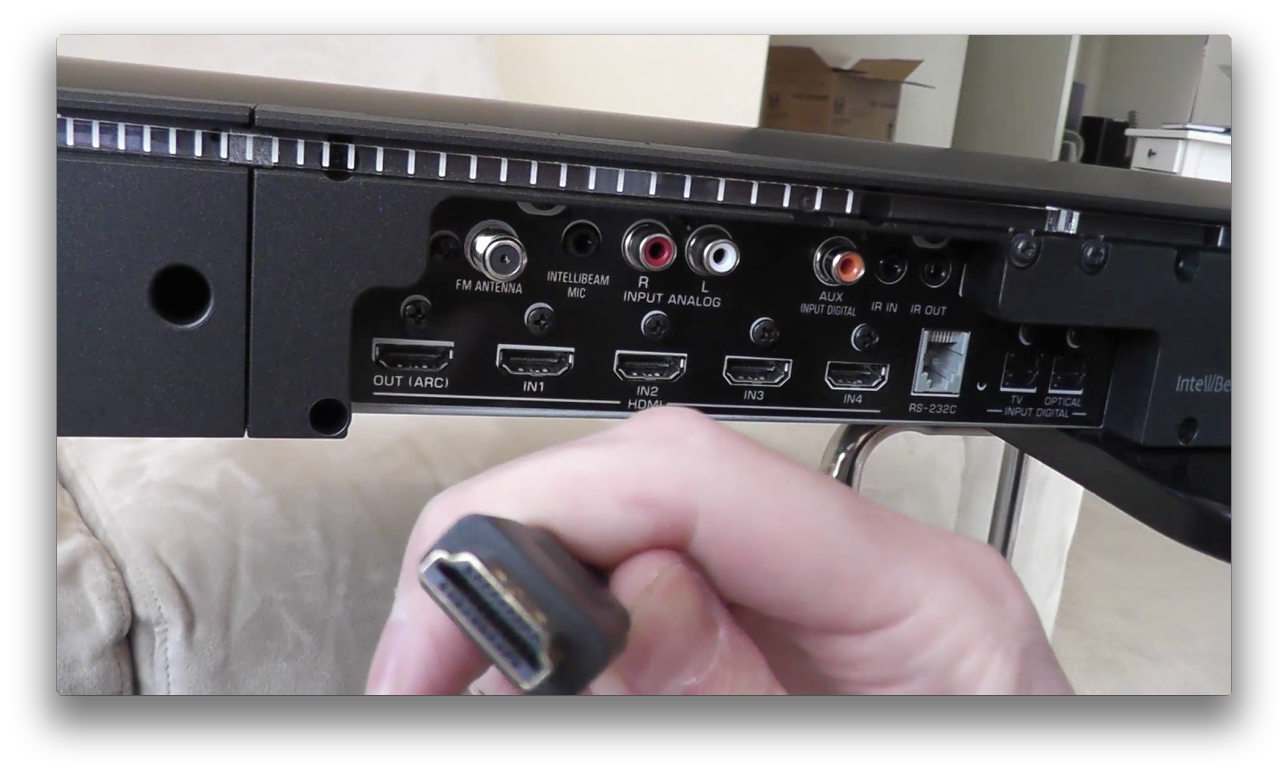
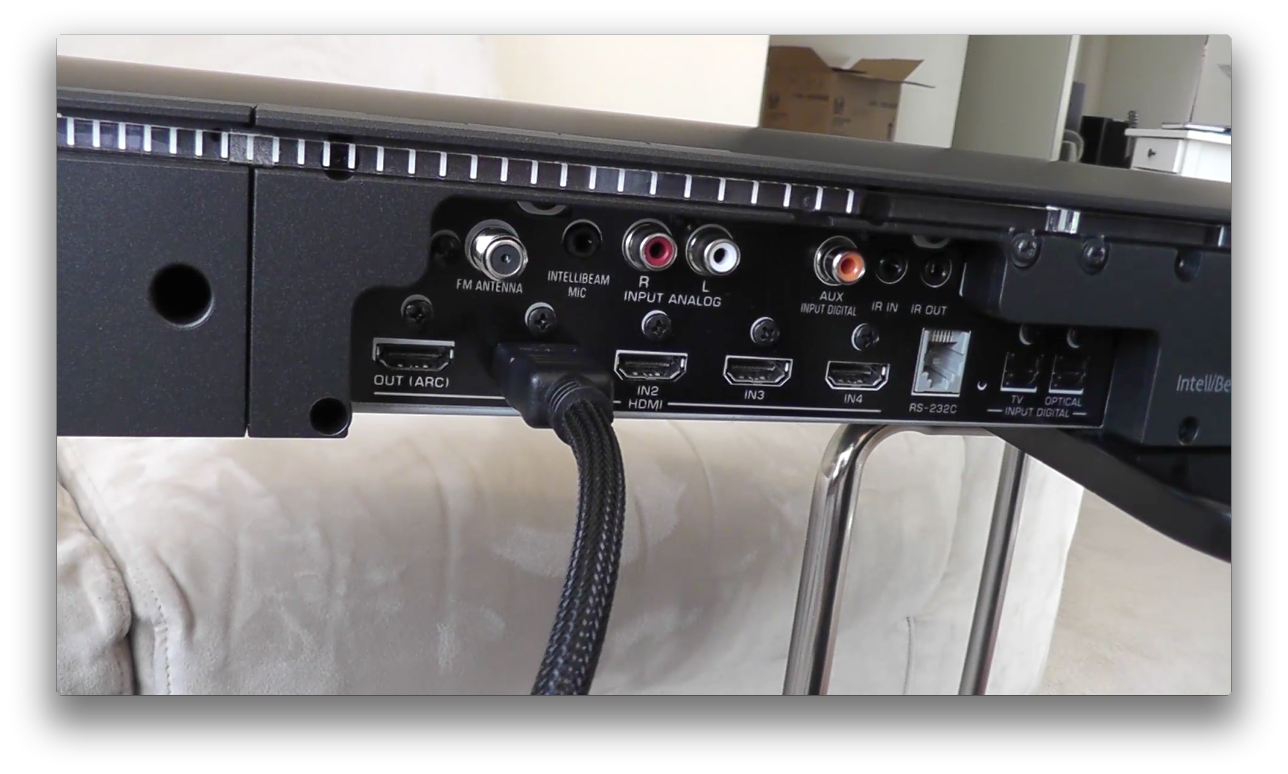
Let’s look at the connection for a more advance soundbar like the Yamaha YSP-4300. This soundbar has HDMI inputs and switches both audio and video, so you can connect your sources directly to the soundbar. Then, run an HDMI cable from the soundbar “Out” to the display’s HDMI “In”. With this setup, you’ll change audio and video inputs through the Soundbar only, not through the TV. The soundbar will play the selected audio and send the selected video to your TV.
Your soundbar should be mounted on the wall or a table, close to the bottom (or top) of your display, and centered underneath it. Now connect your AC and power on your soundbar. If a subwoofer is included, it can be placed in the most convenient or inconspicuous location, and power that on as well. A wireless subwoofer may also need to be “linked” with the soundbar, usually accomplished by pressing a button or setting a switch on both the soundbar and subwoofer, and letting them “find” each other. If you want to learn more about getting the best performance out of your subwoofer based on placement, check out the articles on Audioholics, and keep your eyes peeled for future videos.
You’ll want to balance the audio levels of the soundbar and subwoofer. In the Klipsch HDT-SB3, this is accomplished via a level control on the subwoofer. Play some content you are familiar with that has both high and low frequencies. I like to use full-range music such as Paul Simon’s You Can Call Me Al. Then simply adjust the level on the subwoofer up or down until it sounds good from your main listening position. Having someone to help adjust, while you listen from your typical spot, may help.
The Yamaha comes with a microphone that will set your levels and other settings automatically. Follow the instructions for your specific soundbar, but generally speaking, you’ll place the microphone at ear-height at your primary listening position using a stand or tripod, connect it to your soundbar, and start the auto-setup routine using the remote control.
That’s everything you need to get up and running, though you may want to refer to that manual again for setting advanced features like virtual surround sound. Now, pop in your favorite movie, and enjoy your new, more exciting, home audio.
Marshall is an Educator by trade, and currently lives in Oregon. He was lucky enough to grow up in a musical household, and though the AV equipment wasn't the greatest, it was always on. His dad introduced him to Queen, Paul Simon, and Sgt. Pepper's, and his mom played Lionel Richie and Disney Soundtracks. When Marshall was 14, his uncle passed down a pair of JBL towers and Marshall finally had his own system. Having enjoyed podcasting and video production over the past 10 years, Marshall is happy to be contributing at Audioholics.
View full profile