
Using a Relay Rack for Accessible AV Equipment
Many readers of our website know that we're avid fans of getting your flat panel TV off the furniture and onto the wall. In fact we've written several different articles about this in the past. But what may not be so obvious, because we haven't yet made a big enough stink about it, is that we also love to make those flat panels seem almost "magical". How do you do that? By hiding the source components and equipment in a rack (perhaps even an inexpensive relay rack) that make them work and send them their signal. Now, you may not want to do this with truly high-end gear and if you take lots of pride in your assortment of amps, pre-processors, flagship Blu-ray players and other equipment, but, if you're like most people, that doesn't describe you. If you're like most people, you've got a mainstream AV receiver and some source components that get the job done, but don't rise to the level of "glamorous" or "high-end".
If that's the case, this article is for you.
What You Need
To hide your AV equipment you need a few things. For one, you need a closet or space to put them in. Secondly, you need a rack or shelf system and the proper accessories to make it practical to place your components into the new location. You also need adequate ventilation so you don't overheat your AV products and cause them to wear out prematurely or even shut down. Let's begin with the products we utilized in this review. All were purchased from MonoPrice with the exception of the power and cooling accessories:
- #8620 - 7ft Relay Rack, Black Finishing - $87.50
- 2 x #8631 - Single Sided Shelf, 3.5" x 10" x 19" - $18.65
- 5 x #8629 - Single Sided Shelf, 3.5" x 14.5" x 19" - $17.90
- Assorted 1U-4U Blank Panels as needed (#7261, #7262, #7263, #7264) - $3.33-$10.45
- #7308 - Premium Cable Management, Metal D-Ring, 1.75 inch (H) - $4.23
- #8622 - 12/24 Screws for Rack, 50 pcs Black - $4.77
- #6462 - Hook & Loop Fastening Cable Ties 6inch, 50 pcs/Pack - 5 Colors - $6.33
Total: $227.43 + $64.84 shipping = $292.27 (not including blank panels)
So for less than $300 you can have a full relay rack and all the accessories needed to neatly and efficiently house all of your A/V equipment in a closet. We selected a relay rack over another solution for a couple of reasons, but primarily because it gave us tons of options. With a relay rack you can store your equipment just about anywhere, because the width of the rack is only slightly wider than the gear itself. This opens up possibilities, particularly for those who, like me, have an area that isn't wide enough to fit a traditional rack or piece of furniture. With a standard rack, you'll need more width, but you'll also want to invest in vented shelving, because you need airflow. With a relay rack - all of that is immaterial.
Now we also really customized our relay rack. We did this for a number of reasons. First, our location allowed for a rack much taller than the 4-ft relay rack MonoPrice also sells (#8619), but it wasn't tall enough to completely house the 7-foot tall version. The beauty of a relay rack is that it's very simply constructed. We just chopped it down and re-bolted the top to the shortened frame. Voila, our 7-foot relay rack was now a 6-foot tall rack. In addition, we didn't want to bolt the rack to the floor - which is the common method of mounting a relay rack. The compactness of the rack is what gives it its charm. Instead, we bolted it to an offset, castered dolly base that easily supported the weight of the rack and the components we placed into it. In this way we were able to wheel the rack in and out of our closet, giving us access to both the front and rear connections of our equipment.
Required Tools:
- Ratchet & sockets
- Philips screwdriver
- Drill, 3/16" drill bit & lag bolts (if fastening the rack to the floor)
- Tape measure
To customize the rack in the manner that we did, we also utilized a reciprocating saw with a metal blade and some metal drill bits, additional bolts, washers, pressure washers, and nuts to secure everything together as needed to the dolly base and casters (purchased separately).
Assembly
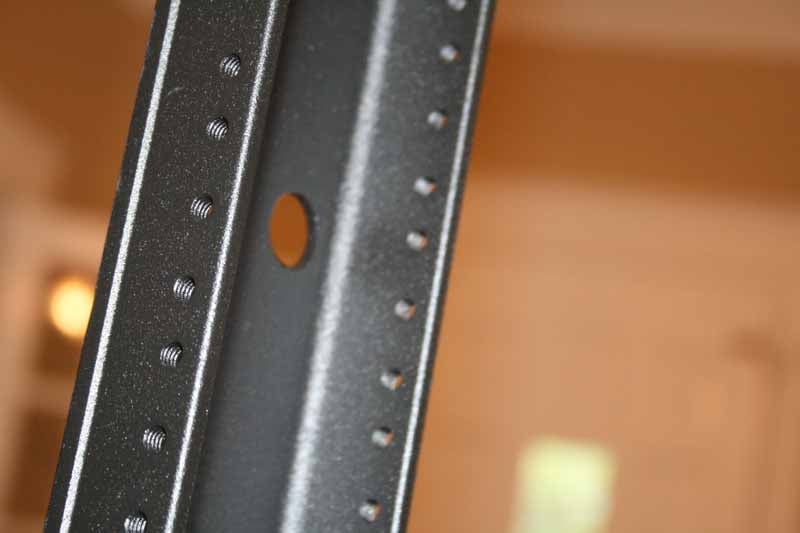
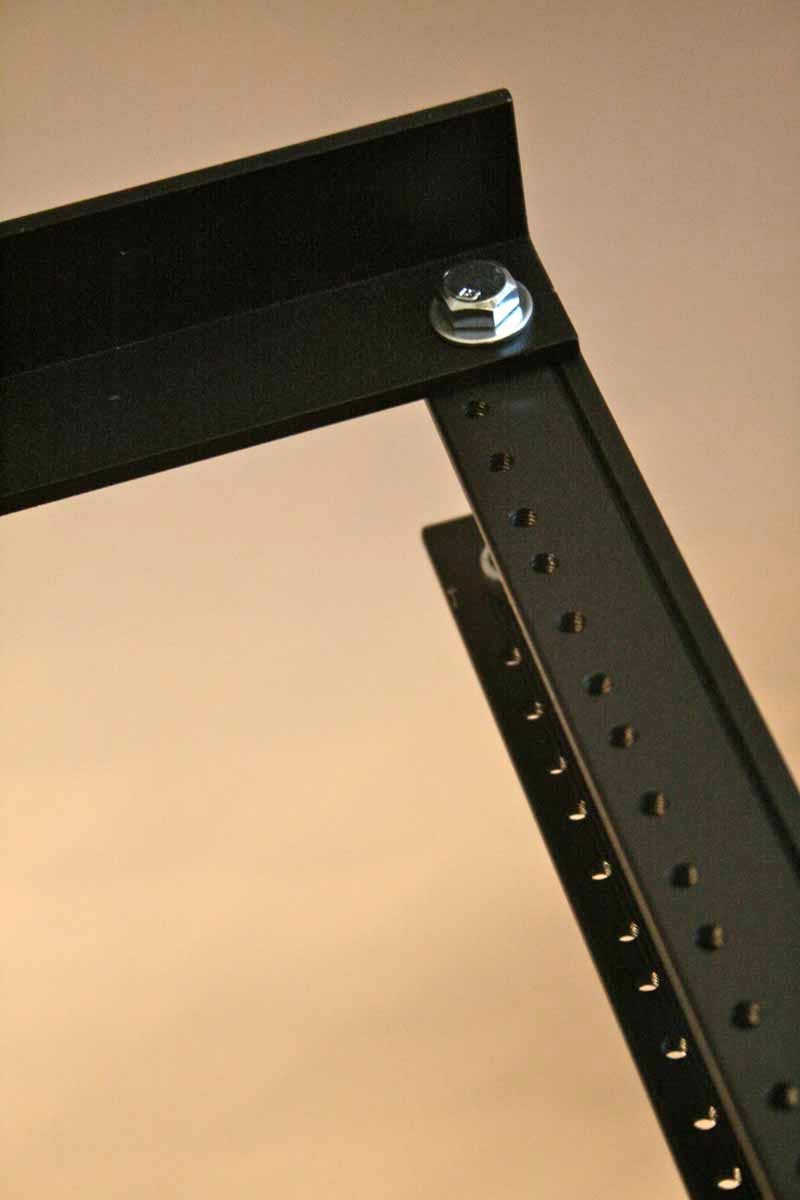
Assembly of the rack was pretty basic. MonoPrice sends it in a long, rectangular box. It makes sense since this is a relay rack - and that means it's essentially two robust double-sided rack rails, a top, and a base. All of the shelves mount to the rails and the entire unit lacks any sort of enclosure or rear support rail. The 7' Relay Rack is really heavy duty and is constructed out of 6061 T6 Extruded Aluminum. It's not going to rust and it isn't going to bend or break. It's tough. The rack rails support 12-24 screws and have tapped holes on both the front and rear flanges (standard EIA spacing). The rack, when assembled facilitates the mounting of standard 19 inch EIA rack mount-compatible shelves of components. It also comes with a black powder coat. Its design is open and allows a tremendous amount of airflow - more so than what you'd get with any entertainment center or vented equipment rack.
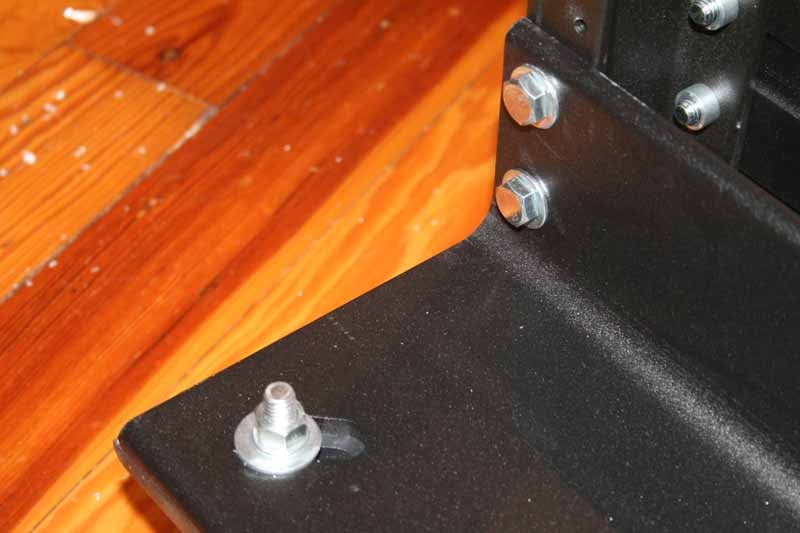
Normally, you'd bolt the entire rack together, putting the top L-brackets across the two side rails and securing the two larger base plates at the bottom. In our case we did this, but as we mentioned, we first took off about 12-inches of each rail, re-drilled new 3/8-inch holes and used new bolts, washers and nuts to secure the top cross pieces to the side rails. We then bolted it down to a dolly, complete with four robust 4-inch casters so we could wheel it in and out of our closet as needed to get at both the front and back of our equipment.
Installation of Gear
So what's the big, overarching idea? Well, for one you're racking up your gear. That's the bottom line. How tall your rack is - that's something you have to decide given your circumstances. I'm fairly certain most people are going to be able to deal directly with the 4' or 7' relay rack without making modifications. The next thing you want to plan out is how to fill it. There are some general guidelines on this but they fall under two categories: weight and heat. You want your very heavy products on the bottom of a rack like this, like battery backup systems. For best heat dissipation, you want to place your heat-generating items on top, so you aren't heating too many products above them. In our case, we didn't have a ton of heat-generation to deal with since our closet is typically well-ventilated, however we did put the external stereo amplifier above the A/V receiver. In an idea world, those would be higher than, say a gaming console or your Blu-ray player. In reality, there is a sort of practicality that may have you putting things in a different order to best maximize cabling.
 Start at the top with a power center or blank panel at the least - to get everything squared up and ready for additional equipment. Whenever possible, locate the OEM rack ears for existing gear so you can mount it to the rack directly without having to use a shelf. This is better for air flow. With a relay rack, wire management is also a bit more difficult., You don't have that rear rail to attach and handle cable management. For that reason we interspersed some of MonoPrice's 1U Premium Cable Management, Metal D-Ring accessories (only one is quoted above). That let us bundle up some of the electrical wiring and network wiring to get it organized and out of the way.
In our relay rack we loaded up the following equipment:
- APC S-15 and S-BATT
- Denon AVR-3312CI A/V receiver
- Antec A/V Cooler
- Emotiva UPA-2 Stereo Amplifier
- DISH 922-ViP Satellite Receiver/DVR
- Oppo BDP-93 Universal Blu-ray Player
- Xbox 360
- Tributaries PWRC-T10X Home Theater Power Bar
In the end, we found that we could now pull our rack in and out to access the rear panels and make our connections. While, for some, this may be the occasional task, with a product reviewer it's practically a weekly event, if not daily. A relay rack really met our needs in this situation and it was far less expensive to configure than an enclosed, vented rack (not to mention its adherence to our space constraints). Take a look at the profile of our closet with an entire rack filled with equipment:
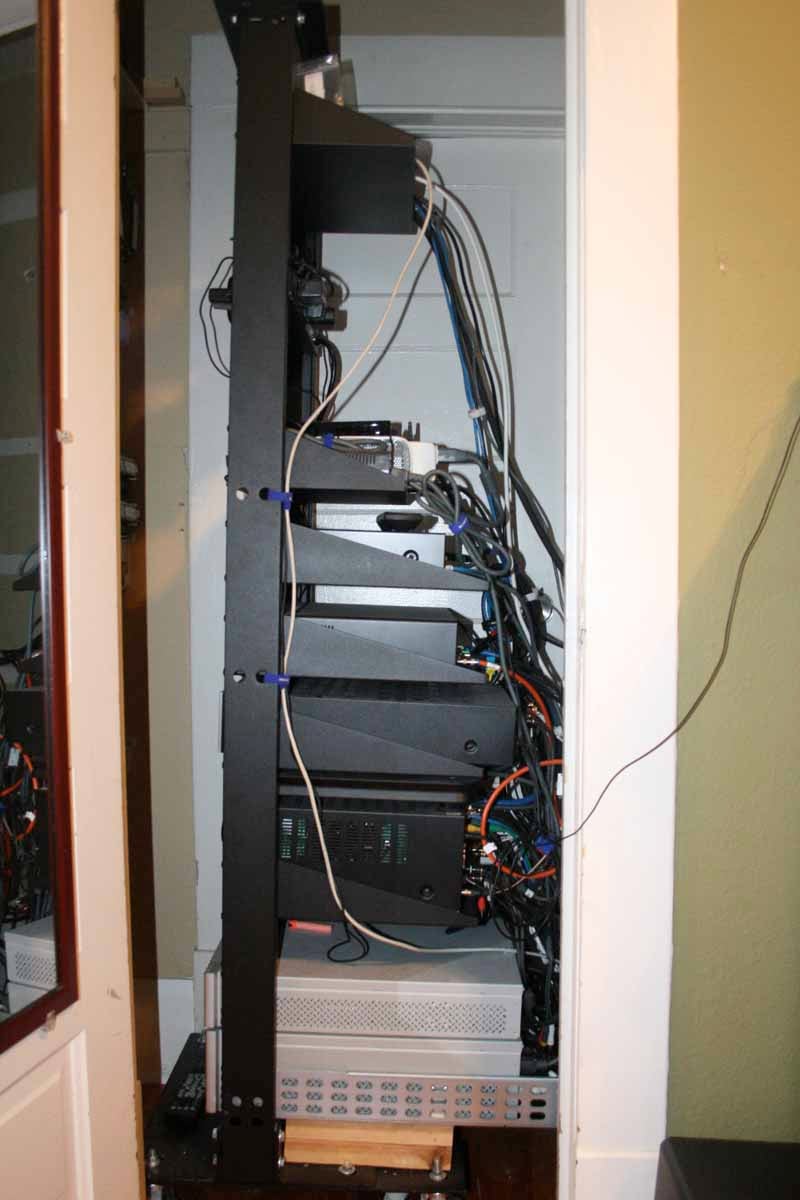
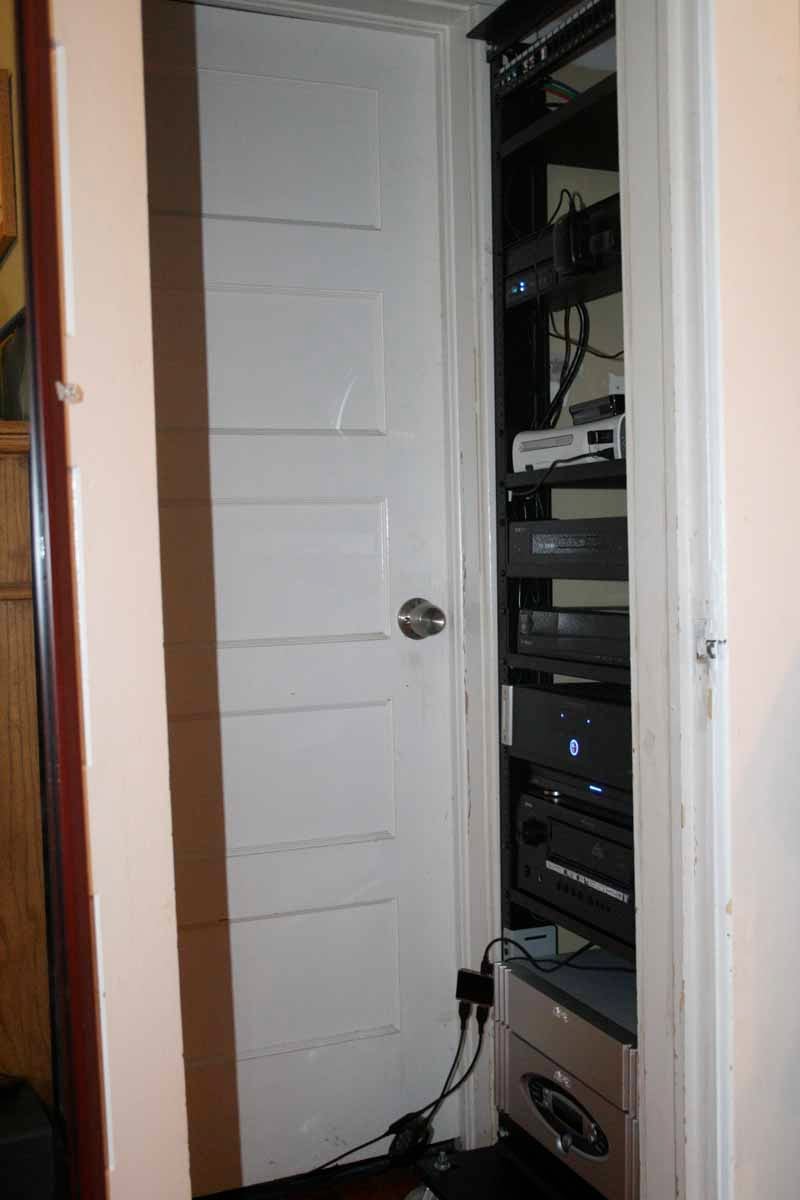
Rack pulled out (left) and recessed back into the tight closet area (right)
Conclusion
To get these products out of the living room and into an equipment closet was a dream come true. Now, the home theater is almost a "magic" room. "Where's all the gear" is the question we hear most (after they get over the size of the screen). There's also the added benefit of being able to do more, since I don't have to consider aesthetics when purchasing additional pieces of gear. Anyone can rack up their equipment into a closet - all you need is the space. This was an experience that really started getting me thinking about how we view A/V equipment. Do we care more about aesthetics (form) than function? Oftentimes, this plays a significant role. But with a setup like this, the role of A/V equipment goes back to 100% performance.
Special thanks to MonoPrice.com for providing the products to make this installation article possible.
Clint Deboer was terminated from Audioholics for misconduct on April 4th, 2014. He no longer represents Audioholics in any fashion.
View full profile