
Loudspeaker Placement Guide
Don't know where to put all these speakers? This is the article for you.
Proper setup is undoubtedly one of the key factors in determining the sound quality of an A/V system. It is not hyperbole to state that a good set of speakers correctly placed will practically always outperform a great set of speakers placed haphazardly. Unfortunately, many people don't put much (if any) thought into this facet of system design. I can't count the number of systems I've come across where the speakers were apparently just tossed down where it was convenient (or the systems where all five speakers were neatly lined up on a shelf below the TV). If that sounds all too familiar, never fear, Audioholics is here to help you out. As a picture is worth 1,000 words, lets start with the Dolby standards for speaker placement, and work from there:


Dolby's guidelines for setting up 5.1 (left) and 7.1 (right) systems.
Main Speaker Placement
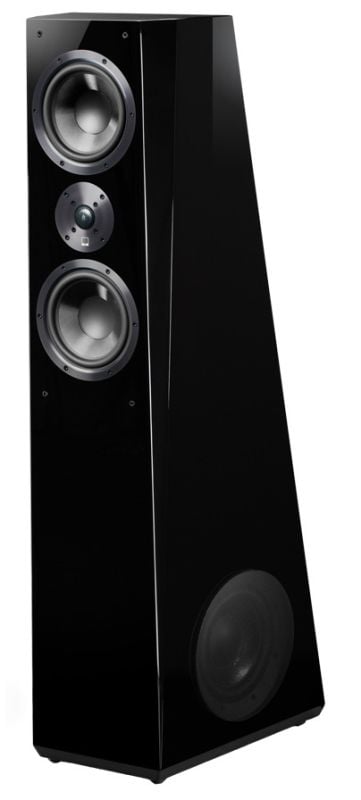 As you will note from the graphics above, your main speakers should be placed between 22 and 30 degrees off from the main listening position. However, digging deeper, there are a few finer points on placing your main speakers worth mentioning. First, for the best soundstage balance, the speakers should be equidistant from the side walls.
Ultimately, the absolute optimal results can only be found through listening, as there are so many interactions occurring in any room it is impossible to calculate all of them, including listener preference. For example, in general placing speakers closer to the rear wall will yield stronger bass, but generally at the expense of a clear image and soundstage. Bringing speakers together can create a more coherent image, but it also makes the soundstage smaller. The second step is to determine the distance off the side walls. It is almost guaranteed that this distance should not be the same as the distance from the back walls, as this will re-enforce a particular wavelength (frequency). Listen at the recommended location and then take the speakers all the way to the side walls and listen again. You will quickly get a feel for what changes occur based on bringing the speakers closer together of further apart. There are two caveats to be careful of. The first is if you are using acoustical treatment on the sidewalls to absorb the first reflection you need to be sure it is still absorbing the first reflection when you move the speakers. The second caveat ties into the third parameter that will be set, which is how much the speaker is angled in to the listener.
In general, the closer the speakers are together the less they should be angled in. This can make things a little tricky, because if you are looking to maximize the soundstage you will need to change both of these simultaneously to get the best results. In order to find the best location, measure the distance of the speaker to the listener. Then mark a point that is half of this distance behind the listener. So if the speakers are 10 feet from the listener, mark a point 5 feet behind the listener. Aim the speaker at this point at all times while finding the distance the speaker should be from the side wall. There are some speakers that do not work very well with this speaker angle method, but most do, even planers. The method we find most effective is to start with the speakers closer together than they should be, gradually move them apart and maintain their pointing at the point marked (as described previously). Vocals, particularly female, work very well here. Listen to the vocal; it should be well defined between the speakers. As you move the speakers apart the vocal will become less defined, and ultimately will sound like it is coming from two separate speakers rather than a point in between. When this occurs you have moved the speakers too far apart and should move them in slightly.
Now it is time to adjust the angle. This works in a very similar fashion. Turn the angle so that the speakers face the listener. Now adjust the angle outward slightly. Listen for the same time of breakdown in the center of the vocal. When it no longer sounds like a point source between the two speakers, the angle is too far out. Adjust slightly inward. If this angle is very different from the original angle that you used to establish how far apart the speakers were made you should re-adjust the distance between the two speakers. Adjusting the distance between the two speakers and the angle can be a time consuming and iterative process. Most cases only require 2 iterations, but in some extreme cases it can require several.
Center Channel Placement
Center channel placement is fairly straight forward. With today's processors, the distance from the center channel to the listener is not terribly important. There are still a few things to be careful of. First the center channel should be centered about the TV screen, even if the screen is not centered between the two main speakers. The center channel is the dialog channel, and it should appear that the dialog is coming from the people speaking, not elsewhere. It is of course recommended that the TV screen be centered between the two main channels, but sometimes this is not possible. Second, the center channel should be located as close to the screen as possible without causing visual interference or electro-magnetic interference with the TV. Most center channels are well shielded (or have a neutral magnetic field) so the latter is not a problem.
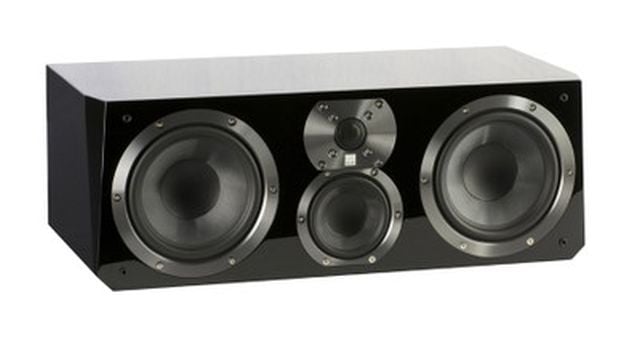
The SVS Ultra Center speaker.
Most center channels are limited in bass frequency so their placement relative to the rear wall is not very critical. If they do have full range capabilities, then it is recommended they are placed the same distance from the rear wall as the main speakers if possible.
One caveat to avoid is placing the speaker too high or too low. This can cause reflections off the floor or ceiling and degrade the clarity of the center speaker. If the speaker must be close to the floor or ceiling it is best to put some sound absorbing material on either the floor or ceiling to absorb the first reflection of the center channel. If it is on the ceiling, products such as sonex work well, if it is on the floor an area rug can be very effective.
Surround speaker placement, dipole vs. direct radiating.
First is to determine which, bipole/dipole or direct radiating speakers should be used. THX has historically recommended bipole/dipole speakers for the rear channel movie soundtracks. This is generally good advice for larger theaters where you will seat 8 or more people. The bipole/dipole has the advantage of disappearing as it is producing sound in two directions at once. It is unlikely that any one person will have it directly radiating at them, but rather it will be producing a large area of sound in the rear of the theater.
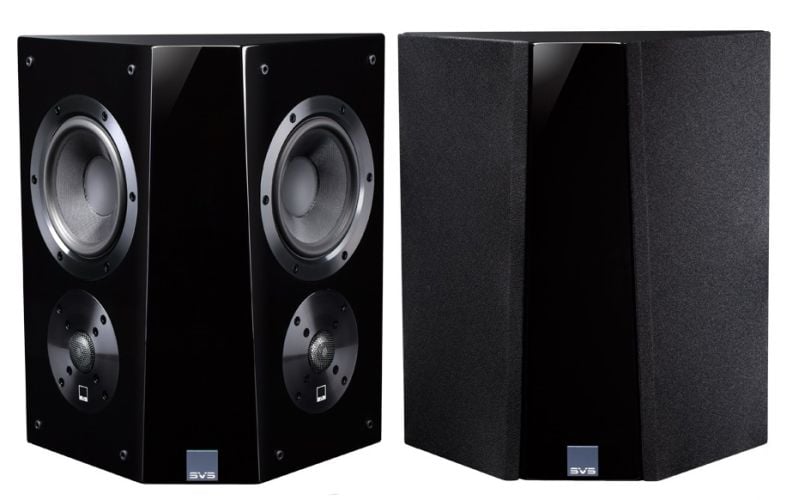
SVS Ultra Surround speakers.
Direct radiating speakers frequently sound better for smaller theaters that seat fewer people. The advantage is that they can better define the rear soundstage. This can be very impressive when that jet flies overhead. However, they have the disadvantage of being a point source and clearly defined, particularly if someone in the theater is seated to close to the speaker. In this case the rear speaker can sound too loud for that individual and can be annoying rather than the great special effects it was meant to be.
Once you determine what your theater will be like and which speakers you will use then you will have to figure out placement. As seen in the graphics above, the usual placement for side surrounds is 90 to 110 degrees relative to the listener. Rear surround channels 135 to 150 degrees relative to the main listening position. In both cases, we generally recommend placement a couple feet above the listening position to achieve a more diffuse sound field, though if you're looking to implement a Dolby Atmos system, the surrounds should be placed at ear level..
Lastly, if you are building a new theater, we recommend that you wire for in-ceiling speakers to accommodate Dolby Atmos. The wiring is an inexpensive investment now, and it will ensure that you are prepared for this exciting new sound format.
Subwoofer Placement and Number of Subwoofers
This can be the most difficult speaker to place. There are a variety of reasons for this, but in general, bass frequencies are most affected by their placement in the room. First let's examine placement with one subwoofer. This is actually the most difficult. Subwoofers can either be placed in corners, where they have the benefit of sound reinforcement from adjacent walls. This means less amplification is required and less distortion on the sound the woofer is producing. However, this comes at a price. Depending on the crossover frequency used, a woofer placed in one corner can be detected as being in THAT corner. The other expense is that corner placement excites room modes and generally delivers less than a flat frequency response.
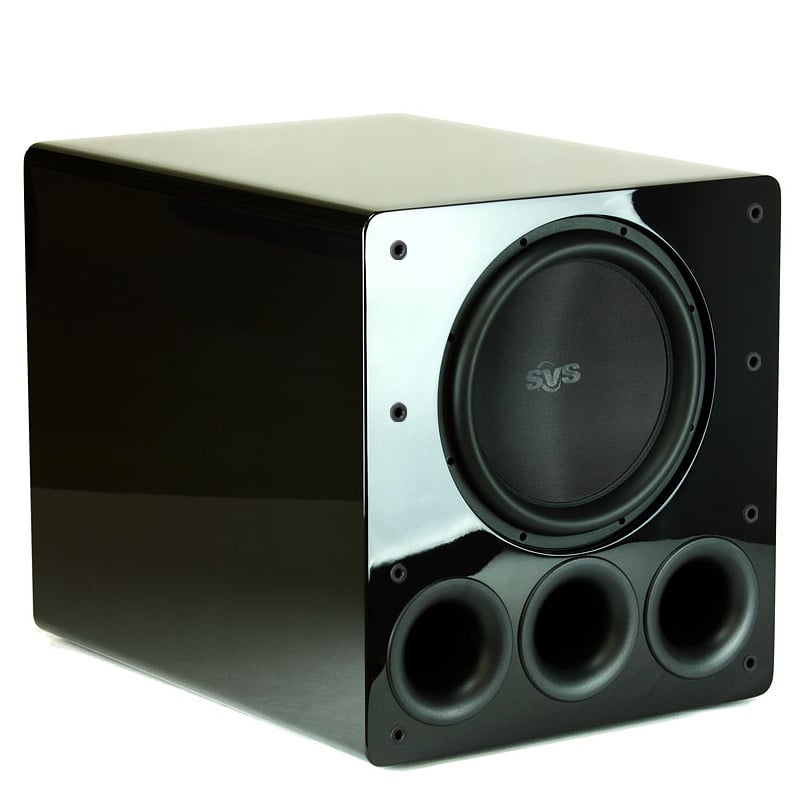
The SVS PB13-Ultra.
With a single subwoofer, we generally recommend crawling for bass. This simple procedure will net you the optimal position to place a subwoofer for the main listening position. However, if you're looking to achieve smooth bass response over a wide listening area, things get more complicated. Generally, you'll need multiple subwoofers and measurement equipment for proper integration. An A/V receiver with Audyssey SubEQ will make this job quite a lot easier by calibrating a pair of subwoofers, though Audyssey alone can't tell you where the ideal positions for your subwoofers are.