
RBH Sound MC-6AW Outdoor Speaker Review
RBH Sound MC-6AW
- Product Name: RBH Sound MC-6AW Outdoor Speaker
- Manufacturer: RBH Speakers
- Performance Rating:

- Value Rating:

- Review Date: June 16, 2009 23:10
- MSRP: $ 450/pair
-
System Type: 2-way Bass Reflex
-
Series: MC Series
-
Frequency Response: 54 Hz - 20 kHz ±3dB
-
Sensitivity: 89dB (2.83V @ 1 Meter)
-
Recommended Power: 10 – 130 Watts
-
Drive Units
Tweeters: 1" (25mm) Aluminum Dome
Woofers: 6.5" (165mm) Aluminum Cone
-
Tweeter Protection: Yes
-
Video Shielding: No
-
Crossover: 3,000 Hz
-
Crossover Slope: 12dB/Octave
-
System Impedance: 8 Ohms
-
Finish: ABS
-
Finished Dimensions: 12.75" H x 9" W x 8.25" D (324mm H x 228mm W x 210mm D)
-
Weight: 9.1 Lbs. (4.13 Kg.)
-
Warranty: 5 Years
Pros
- Convenient size
- Easy installation
- Clean & detailed sound
- Good in multiple environments
Cons
- Limited mobility from mounting bracket
RBH MC-6AW Configuration and Setup
Based on the numerous glowing reviews of RBH Sound products on this website, it is easy for a casual reader to draw the wrong conclusion that fellow Audioholics are overly enthusiastic about this company’s products. Had it not been for the fact that I’ve heard and marveled over their products first hand, I’d probably turn a sympathetic ear to that concern. The reason I’m saying this is because although I’ve listened to various RBH speakers at different places, I’ve never reviewed a pair nor have I had a pair set up in my reference system. I won’t make you wait for a surprise conclusion at the end of this review. I was extremely impressed with the RBH MC-6AW speakers especially because they are only a small indoor/outdoor two-way system. At first I was mainly thinking of these as patio speakers but read further to see the outcome of the “indoor” possibilities.
Description and Inspection
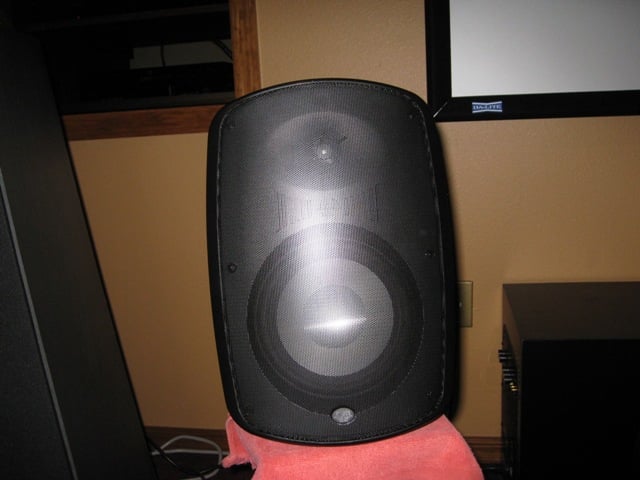 Well I didn’t take the MC-6AW’s apart and inspect
them as I normally do because they are made with molded plastic and sealed for
outdoor use. Physically, they appear to be a fairly standard design for an
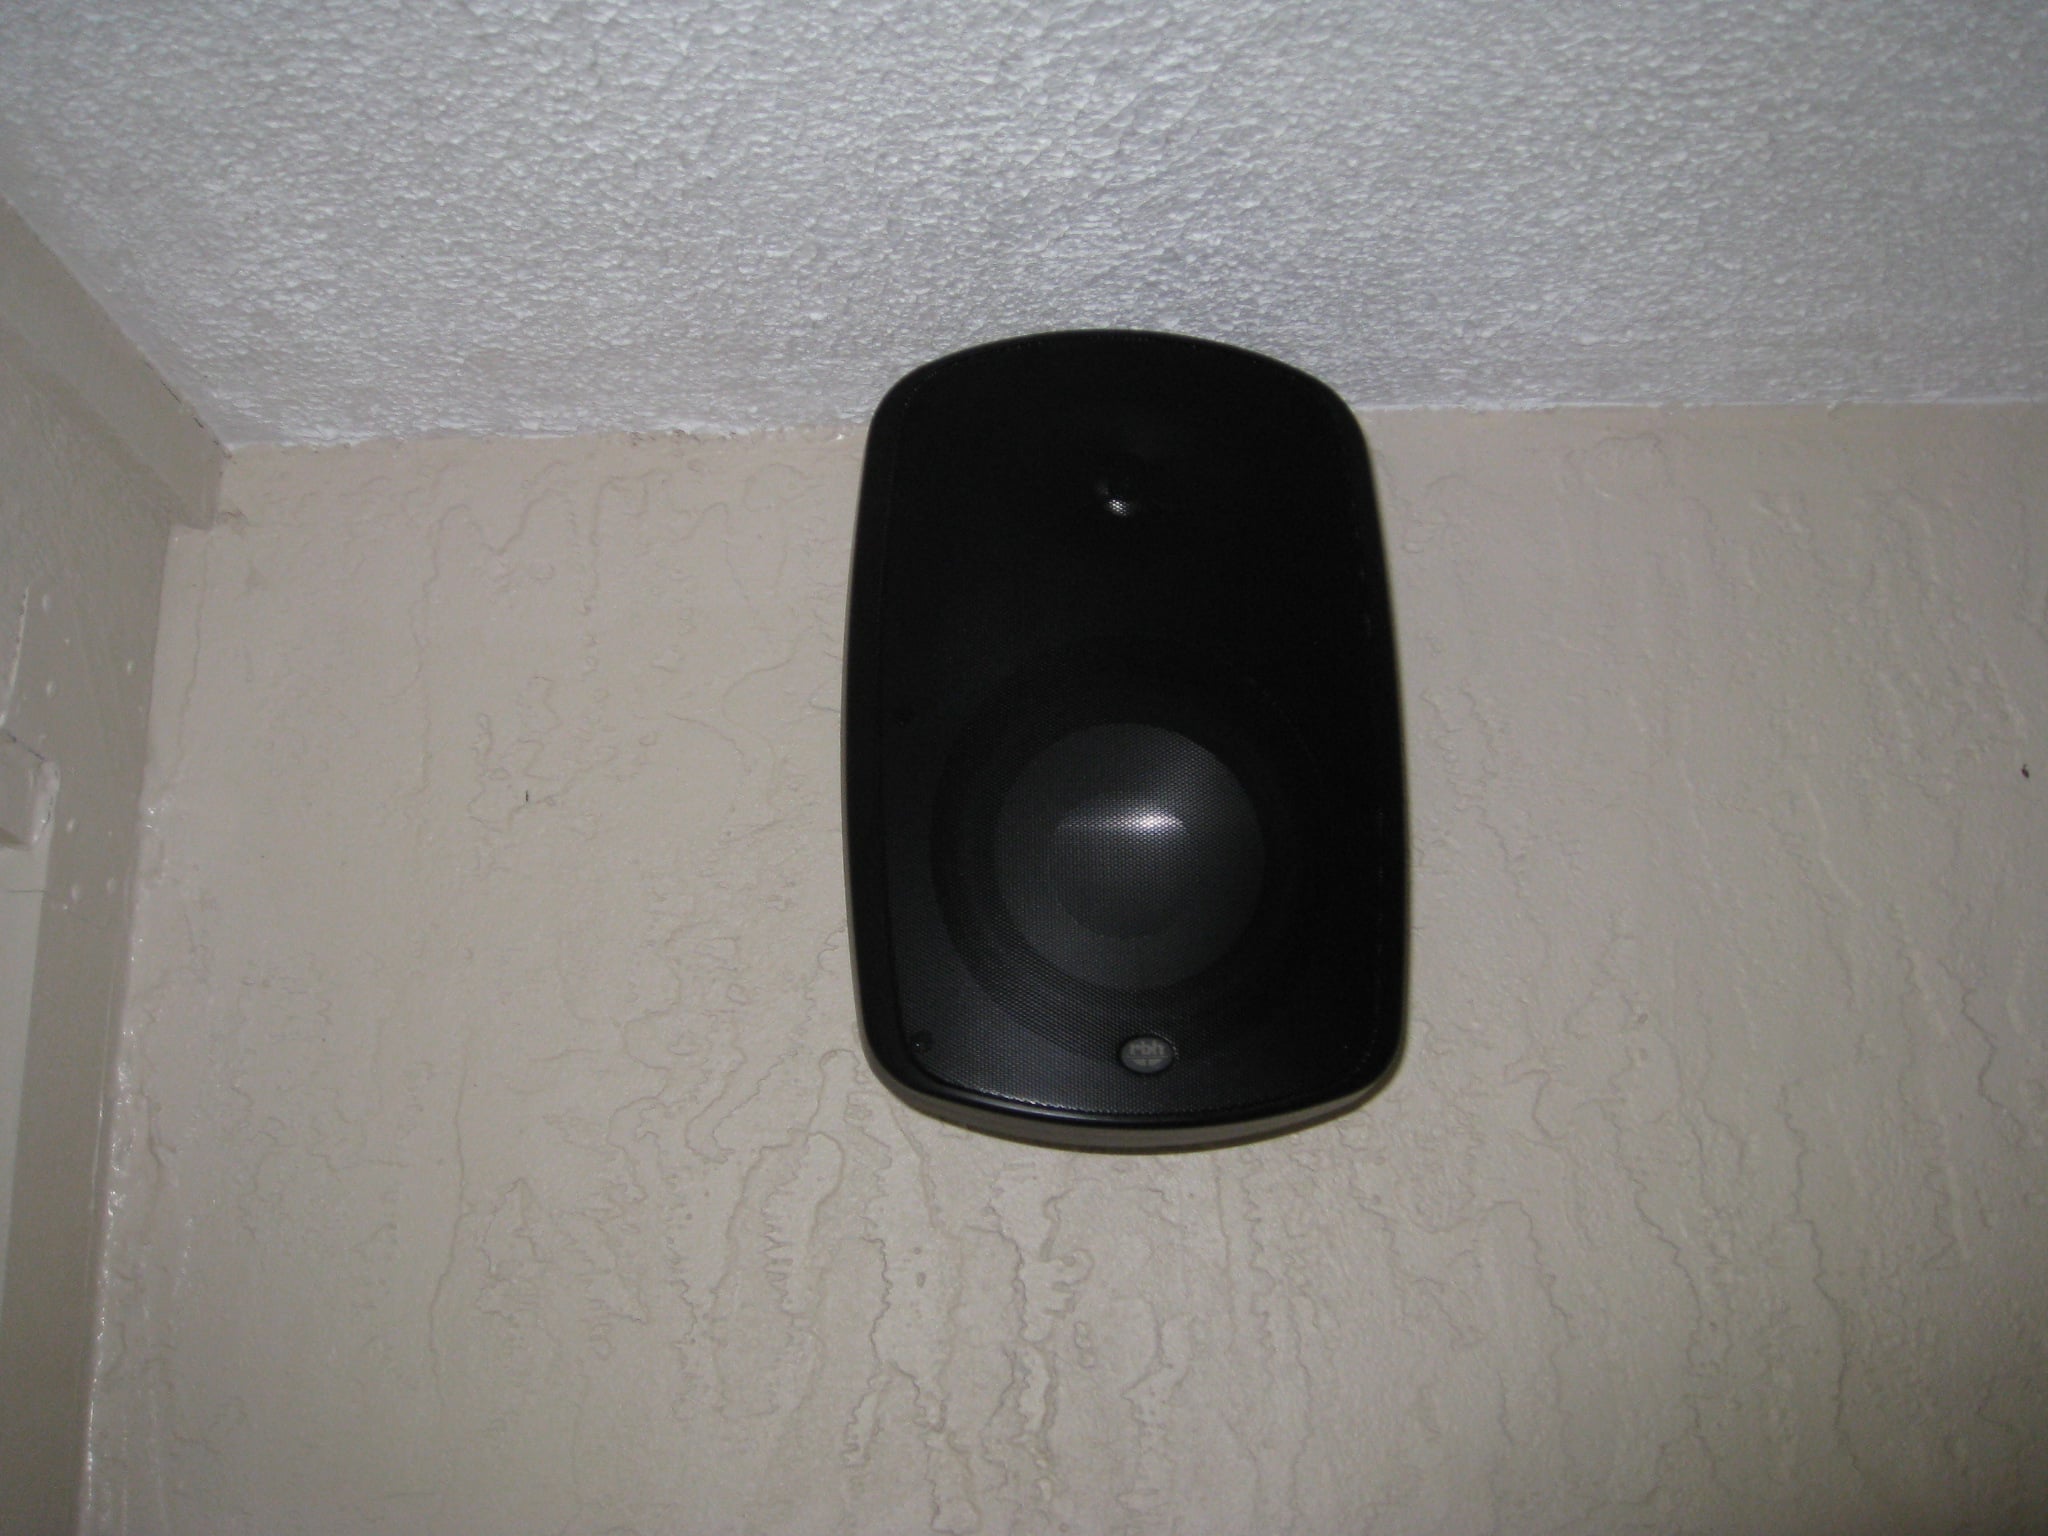
outdoor speaker but upon closer inspection, they are not. They have an aluminum woofer, an aluminum
tweeter and a mineral loaded polypropylene box.
I typically do not prefer aluminum tweeters but this speaker is changing
my mind. The speakers came with one bracket that can only swivel one direction,
left and right unless you mount them on their side which I typically wouldn’t recommend. We found out from RBH that if they are placed high up on the wall with the
tweeters on the outside it could allow for good dispersion characteristics
between the speakers and this would allow them to be angled downwards towards
the listening position. There is also a threaded insert in the center on the
back of the speaker to attach a different bracket so both directions of
movement could be achieved. These speakers must be bracket mounted as they are
not meant to stand on their own (although I did it temporarily for reviewing
purposes). The manual is very basic and straight forward, showing the user how
to install the bracket and set the speakers up for optimal sound. I think it is always good to read the manual
even if installation and set up is intuitive because there maybe something the
manufacturer wants you to know to optimize the product.
Well I didn’t take the MC-6AW’s apart and inspect
them as I normally do because they are made with molded plastic and sealed for
outdoor use. Physically, they appear to be a fairly standard design for an
outdoor speaker but upon closer inspection, they are not. They have an aluminum woofer, an aluminum
tweeter and a mineral loaded polypropylene box.
I typically do not prefer aluminum tweeters but this speaker is changing
my mind. The speakers came with one bracket that can only swivel one direction,
left and right unless you mount them on their side which I typically wouldn’t recommend. We found out from RBH that if they are placed high up on the wall with the
tweeters on the outside it could allow for good dispersion characteristics
between the speakers and this would allow them to be angled downwards towards
the listening position. There is also a threaded insert in the center on the
back of the speaker to attach a different bracket so both directions of
movement could be achieved. These speakers must be bracket mounted as they are
not meant to stand on their own (although I did it temporarily for reviewing
purposes). The manual is very basic and straight forward, showing the user how
to install the bracket and set the speakers up for optimal sound. I think it is always good to read the manual
even if installation and set up is intuitive because there maybe something the
manufacturer wants you to know to optimize the product.
Configuration and Setup
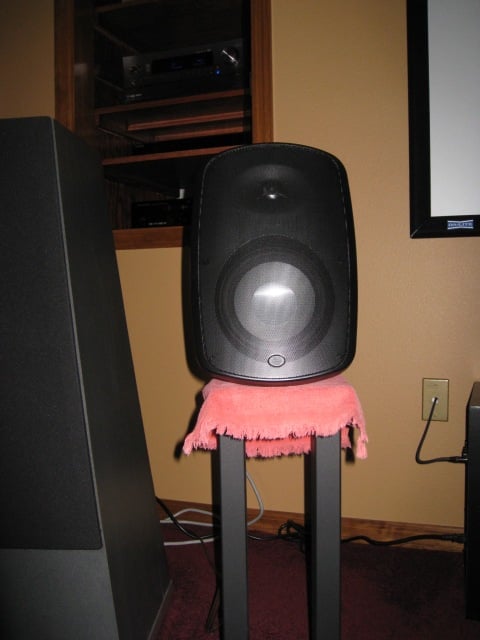 I set these speakers up two different ways and
conducted a unique listening session for each. The first thing I did was
temporarily put them on stands in my reference system just on the inside and a
bit forward of my reference speakers. Ideally they should have been mounted on
the wall like they were designed for which adds the proper low end gain to the
overall response. I didn’t want to go to the trouble of mounting them in my
reference system for obvious reasons. But I did want to give the MC-6AW’s the
opportunity to perform with my best equipment in a nearly ideal acoustical
environment. Let me reiterate, these speakers are not meant for stands. They
will easily tip over. I set my processor
to “small” with an 80Hz crossover and except for a brief listen in “Direct”
mode I had the subwoofers on during my listening sessions. If these speakers are to be used indoors they
would surely need to have a subwoofer to go with them.
I set these speakers up two different ways and
conducted a unique listening session for each. The first thing I did was
temporarily put them on stands in my reference system just on the inside and a
bit forward of my reference speakers. Ideally they should have been mounted on
the wall like they were designed for which adds the proper low end gain to the
overall response. I didn’t want to go to the trouble of mounting them in my
reference system for obvious reasons. But I did want to give the MC-6AW’s the
opportunity to perform with my best equipment in a nearly ideal acoustical
environment. Let me reiterate, these speakers are not meant for stands. They
will easily tip over. I set my processor
to “small” with an 80Hz crossover and except for a brief listen in “Direct”
mode I had the subwoofers on during my listening sessions. If these speakers are to be used indoors they
would surely need to have a subwoofer to go with them.
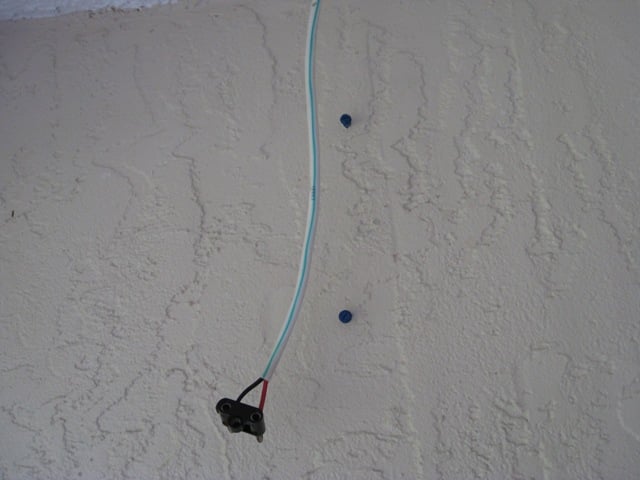
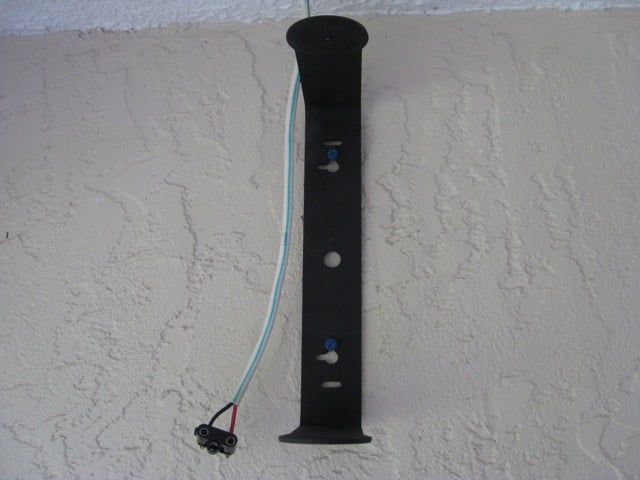
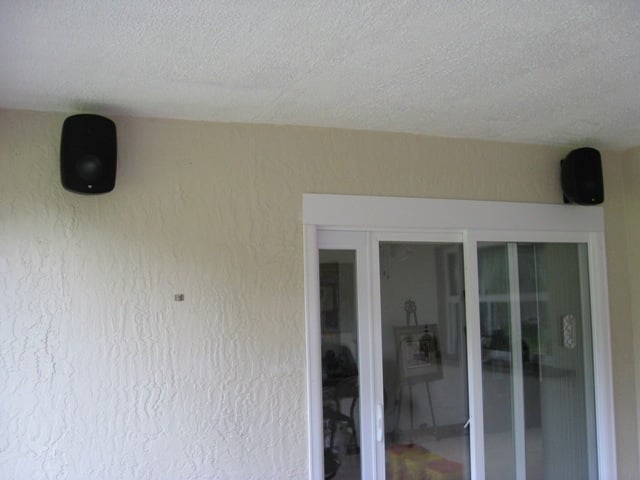
The other setup I did when testing these speakers was to mount them on my patio for outdoor listening. I mounted them near the ceiling and here is where I wished the speakers had a bracket that swiveled up and down so I could point them down slightly. I used my family room equipment which consists of an old Yamaha receiver and Panasonic DVD player. This was quite a step down in component quality compared to my reference system but not bad especially for outdoor purposes. There is no subwoofer on the patio. The installation was quite easy. I have block walls so I just used a couple of Tapcons, put the brackets on and mounted the speakers. The installation was as easy as it sounded. Of course I left out the wiring which is always the hardest part when you want to hide them.

RBH MC-6AW Listening Tests
 Indoor

CD: Yes - The Ladder
As always I started listening to Yes. The MC-6AW’s carried the energy that I am used
to on this CD which got me involved in the music. Jon Anderson’s voice was
forward and the midrange was very smooth. I started to compare the sound to my
reference speakers and realized that these were indoor/outdoor speakers and
that wouldn’t be fair or would it? The RBH’s were sounding surprisingly good at
this point and I couldn’t wait to see how they did in  the transparency and airiness
tests.
the transparency and airiness
tests.
CD: Enya - Shephards Moon
The light
wispy airiness and transparency in Enya’s voice portrayed by these speakers on
the “Marble Halls” track was awesome. I could hear the good sibilance and I started
to think that these speakers were too good to go outside.
CD: Terence Blanchard – Jazz Suite
On “Malcolm Makes Hajj” the sax sounded smooth and clean but lacking a bit of realism although that is not something I expected from these speakers. I turned the volume up quite a bit for the trumpet solo and it did have the realism, just the right amount of edge from a trumpet. I did not hear perfect imaging and sound stage but remember they were not set up the way they were designed to be at this point.

CD: Flim and the BB’s – Big Notes
On “Funhouse” the detail and clarity was very good. It had good pseudo imaging although some of the highs were a bit piercing. After listening to “Funhouse” I wanted to hear a little more vocals.

CD: Annie Lennox – Lord of the Rings
For the first vocals I put on “Into the West” By Annie Lennox. Her voice sounded nice and forward but a bit less captivating than I am used to.
CD: Suzanne Vega – Solitude Standing
Next I played “Tom’s Diner” by Suzanne Vega. The midrange in her voice was excellent and it sounded appropriately forward.
 CD: Steely Dan – Two Against Nature
Finally for some male vocals I played “Gas Lighting Abbie.” Donald Fagan’s voice stood out well
while the guitar was very distinct. The detail was great; there was no blurring
of sound. All of the midrange sounds
were smooth.
SACD: Matt Bianco - Matt’s Mood
I wasn’t
intending to listen to anything but my CDs initially but I was so impressed
with these little speakers I decided to try playing the great detail of SACD’s
in two channel mode (as opposed to
5-channel). I started with “La Luna” and Basia’s voice was nicely
forward and the instrumental detail was excellent.
SACD: Tchaikovsky - Overture of 1812
This SACD
is probably the best recording I own. Although I’m a bit more used to the 5 channel recording of this SACD in 2-channel it still sounds excellent and the MC-6AW’s did not let me down. Everything
sounded clear and detailed and very involving.
Outdoor Listening
After installing the speakers on the patio I listened again to some of the previous material except for the SACD stuff. The environment outside is obviously completely different. There were not 4 walls, there were only two block walls and tile floor. There are also outside noises to overcome such as cars and jets (I live in the flight path to the airport). There was no acoustical treatment set up, just the speakers and the outdoors. I had a preconception that they sounded good in my pristine listening environment but probably won’t on the patio. I was wrong. They also sounded great on the patio. Of course I couldn’t hear all the nuances that are heard on my reference system but I would surely be proud to show these off to any guests. Although I thought these speakers needed a bracket that could have been angled downward, I found that it was unnecessary. The dispersion was excellent. The first thing I noticed was that the sound stage was very high, ha ha (they are mounted near the ceiling). I definitely heard the better bass response from the boundary gain caused by mounting them on the walls. The Yes tracks carried the same involvement that I am used to hearing. I still heard the highs and detail very well like in Funhouse from Flim and the BB’s. There is a part in it that has a chime that I could hear with great detail. Even in the outside environment “Into The West” carried the dynamics well and Annie Lennox’s voice was still captivating enough. On “Malcolm Makes Hajj” the instruments sounded real and had good detail. It doesn’t make a lot of sense to talk about the sound stage in this environment though. On “Tom’s Diner” I could hear a lot more reverb due to the block walls and tile floor but it still sounded good. Hearing all this detail with the speakers mounted so high told me that the dispersion was excellent and that can be seen in the measurements to follow.
RBH MC-6AW Measurements and Conclusion
 The measurements that were taken were very basic.
First a frequency response was taken at 1 Watt at 1 meter and then the off axis
response was taken I didn’t perform a room response because I didn’t see any
added value by providing it. Using TrueRTA’s quick sweep function reveals quite
amazing linearity in the response curves.
The measurements that were taken were very basic.
First a frequency response was taken at 1 Watt at 1 meter and then the off axis
response was taken I didn’t perform a room response because I didn’t see any
added value by providing it. Using TrueRTA’s quick sweep function reveals quite
amazing linearity in the response curves.
The on-axis frequency response of the MC-6AW is nearly ruler flat above a few 100Hz.. On the low end remember that there will be some gain when mounted on a wall which will provide better spectral balance.

Near field Frequency Response
The off axis response is mainly used to determine how well the speaker’s reflections will sound. If the shape of the off axis responses are the same as the on axis response wall reflections from these speakers should sound okay if they are vastly different then some absorption material should be used. In the case of the MC-6AW’s the response barely fell off showing excellent dispersion. This design is excellent; RBH knew that these would be mounted under ceilings or eaves and accounted for that in the response.

Off Axis Response - 0º, 30º, 60º
Conclusion
The RBH MC-6AW speakers didn’t have the all the qualities of my large reference speakers but they shared many of their sonic virtues. As a moderately priced indoor/outdoor 2-way speaker they sounded phenomenally well. As I listened, over and over I kept forgetting that these were small indoor/outdoor speakers and kept thinking they sounded better than some speakers I’ve reviewed from more prestigious brands costing several thousands of dollars. The MC-6AW’s can be used in multiple environments. They would be great mounted on the wall next to an on-wall television in either a bedroom or a family room. You could also class up your pool parties by using them on your pool deck or any patio. The MC-6AW’s are a relatively high efficiency speaker system that will play well on inexpensive A/V receivers, but don’t be afraid to feed them some quality power as they will reward you with rich dynamic sound. Now finally having a formal RBH Sound review under my belt, I must take great care in choosing the next product I review for them as I fear it could result in trading my beloved reference speakers.
MSRP: $450/pair
Mailing Address
RBH Sound
382 Marshall Way
Layton, Utah 84041
General phone & FAX
Toll-free: (800) 543-2205
Local: (801) 543-2200
FAX: (801) 543-3300
The Score Card
The scoring below is based on each piece of equipment doing the duty it is designed for. The numbers are weighed heavily with respect to the individual cost of each unit, thus giving a rating roughly equal to:
Performance × Price Factor/Value = Rating
Audioholics.com note: The ratings indicated below are based on subjective listening and objective testing of the product in question. The rating scale is based on performance/value ratio. If you notice better performing products in future reviews that have lower numbers in certain areas, be aware that the value factor is most likely the culprit. Other Audioholics reviewers may rate products solely based on performance, and each reviewer has his/her own system for ratings.
Audioholics Rating Scale
 — Excellent
- — Very Good
- — Good
- — Fair
- — Poor
| Metric | Rating |
|---|---|
| Build Quality | |
| Appearance | |
| Bass Extension | |
| Bass Accuracy | |
| Dynamic Range | |
| Performance | |
| Value |
Ken Stein is a contributing writer and reviewer for Audioholics and he really REALLY likes his speakers (which he should, since he spent countless hours hand-crafting them himself.) Ken is an engineer with FedEx and applies his diligent attention to detail to his speaker and electronics reviews here at Audioholics.
View full profile