
How to Find Studs in Any Wall
Wall Cutaway (source: Zircon)
Whether you are mounting a TV, speaker, or on-wall shelf, it’s always best to anchor into a stud. Drywall anchors can work wall, but you never truly know the quality of drywall. There may be cracks hidden under paint and texture. It may have been damaged by water, or it may simply pull off the wall if poorly installed. Because of these potential problems, it’s safest to hit a stud.
Here are four ways to find studs hidden in almost any wall:
1. Electronic Stud finder
![]() The easiest and most common method of
locating studs within a wall is to use an electronic stud finder. Each model
varies slightly, but generally speaking, you place the stud finder on the wall,
hold down a power button until the device beeps – this indicates that it has
finished taking an initial reading of the well – then slowly move the stud
finder along the wall until it lights up/beeps indicating a stud.
The easiest and most common method of
locating studs within a wall is to use an electronic stud finder. Each model
varies slightly, but generally speaking, you place the stud finder on the wall,
hold down a power button until the device beeps – this indicates that it has
finished taking an initial reading of the well – then slowly move the stud
finder along the wall until it lights up/beeps indicating a stud.
The problem with electronic stud finders is that they can mistake other objects in the wall as studs, such as water pipes and electrical wires. Sometimes drywall seams are also mistakenly marked as studs. It’s for these reasons that electronic stud finders should be used in conjunction with the other methods outlined in this article.
2. Magnetic Stud Finder
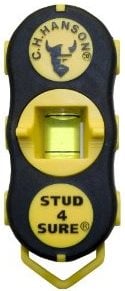 Magnetic stud finders
are cheap, reliable, and pretty much fool proof. You simply move the stud
finder back and forth on a wall until you cross over a drywall screw. The
magnet in the stud finder will snap to the drywall screw, and now you know
where a stud is.
Magnetic stud finders
are cheap, reliable, and pretty much fool proof. You simply move the stud
finder back and forth on a wall until you cross over a drywall screw. The
magnet in the stud finder will snap to the drywall screw, and now you know
where a stud is.
The downside to this method is that it won’t tell you where the center of the stud is, just the location of the drywall screw. However, it works well for detecting false positives from electronic stud finders. If an electronic stud finder marks a stud, but you can't locate any drywall screws in that area, there likely isn't a stud there. Some cheap magnetic stud finders can scratch the wall, so make sure you get one with felt pads to protect the wall.
3. Reference Wall Fixtures
Sometimes, electronic and magnetic stud finders won’t do you much good. This is often the case when it comes to old homes with lathe and plaster walls. In these cases, you can rely on wall fixtures, such as electrical outlets, light switches, cable jacks, and sconces, to locate studs. As long as the fixture was installed during construction, as opposed to being retrofitted in, it should be attached to a stud.
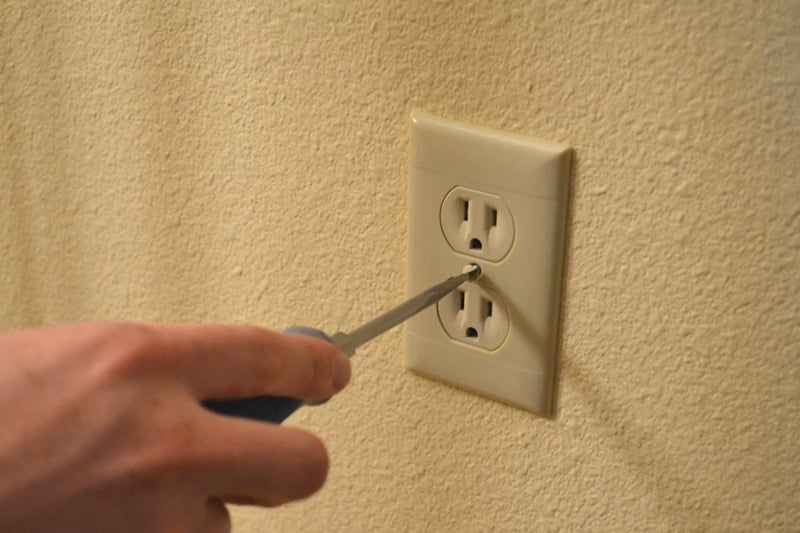
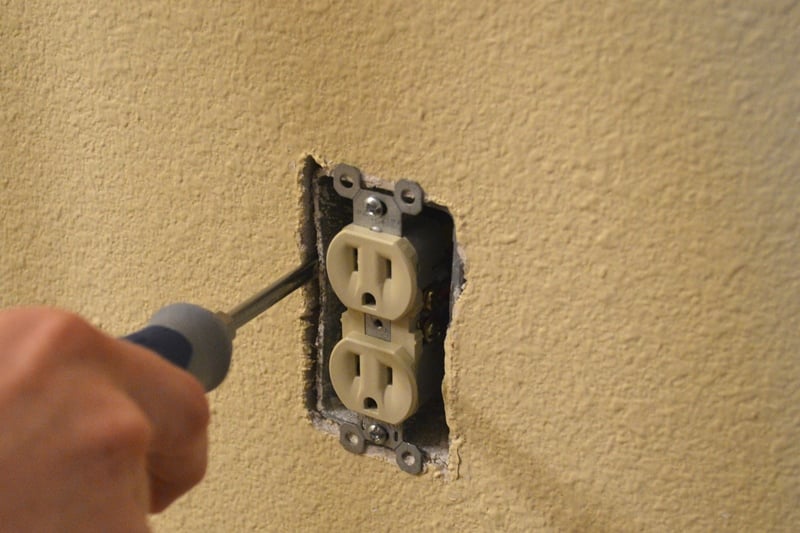
Remove Wall Plate Check for Stud
In the case of wall plates, simply remove the wall plate, and then get a thin tool to stick between the wall and fixture. The tool will either go into the empty space behind the drywall, or stop, indicating that you've found a stud.
4. Drill Pilot Holes
Even after utilizing the first three methods, you still might not where the studs are. This is a common scenario when trying to find studs above a fireplace, where there may not know actually be any studs to find. At this point, you need to drill into the wall.
You can choose one of two methods when drilling pilot holes. The first is to use a very small drill bit, or even a small precision screw driver, to poke a hole in the wall where you think a stud should be - below are tips to help you with this guess. Keep drilling/poking these small holes horizontally across the wall until you find a stud. Obviously, the problem with this method is that you could end up with a long line of small holes in the wall.
The second method is to cut out or drill a hole that’s large enough for you to “see” what’s in the wall. You could make the hole large enough to actually peer inside the wall, or just large enough to fit an angled, thin tool in the wall. The tool can then be fed at angle into the wall until it stops, hopefully indicating that you found a stud.
Other Stud Finding Tips
- Most homes are built with 16” on-center studs, which means there should be a stud every 16”. If you have trouble finding studs on a wall, verify how far apart they are in the home by locating and measuring them on another wall.
- Be aware that some external basement walls are only built with 2x2s because that’s all that’s needed to hold up the drywall.
- When using a stud finder, use painters’ tape to mark out at least three studs in a row, then measure the distances between the studs. If the studs are equidistant apart, you can be sure the stud finder actually marked studs, as opposed to some other object in the wall.
- It’s becoming common practice to use plywood
backing above fireplaces. This is done to make TV mounting easy because you can anchor anywhere into the plywood using a hollow wall
toggle. Keep this in mind if you have trouble finding studs above a fireplace.
- Don't worry if you only find one stud when trying to mount a large TV or other heavy object. Two lag bolts into the center of a stud, plus a couple 1/4" Snaptoggles into the drywall, will securely hold all but the heaviest TVs.
- When using a stud finder on popcorn ceiling, put a piece of cardboard between the stud finder and ceiling to ensure accurate results and minimize damage to the ceiling texture.
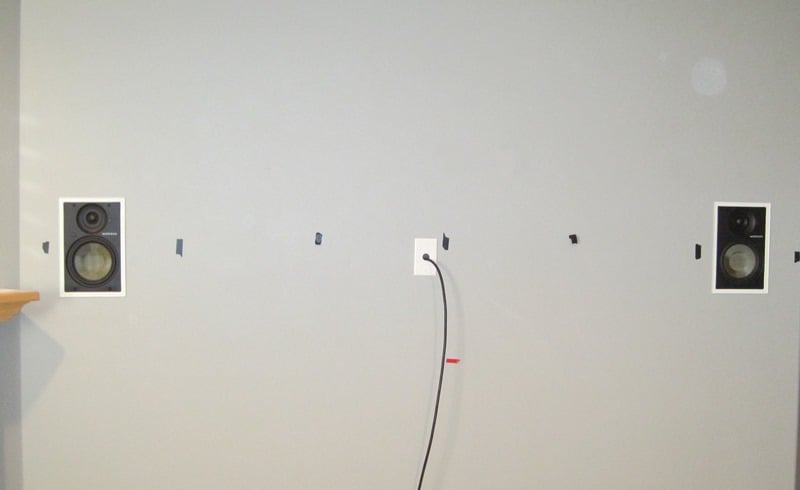
Mark Multiple Studs on the Wall
Conclusion
You now know all of the stud finding techniques I learned during my years as a professional home theater installer. The key to success is to be aware of and use each of these methods. No single method will work for every situation, but using a combination of these methods should ensure that you always locate a stud, that is, as long as there’s actually a stud in the wall.
Cliff, like many of us, has always loved home theater equipment. In high school he landed a job at Best Buy that started his path towards actual high quality audio. His first surround sound was a Klipsch 5.1 system. After that he was hooked, moving from Klipsch to Polk to Definitive Technology, and so on. Eventually, Cliff ended up doing custom installation work for Best Buy and then for a "Ma & Pa" shop in Mankato, MN.
View full profile